Sometimes order is important – but sometimes it’s not! | Primary School
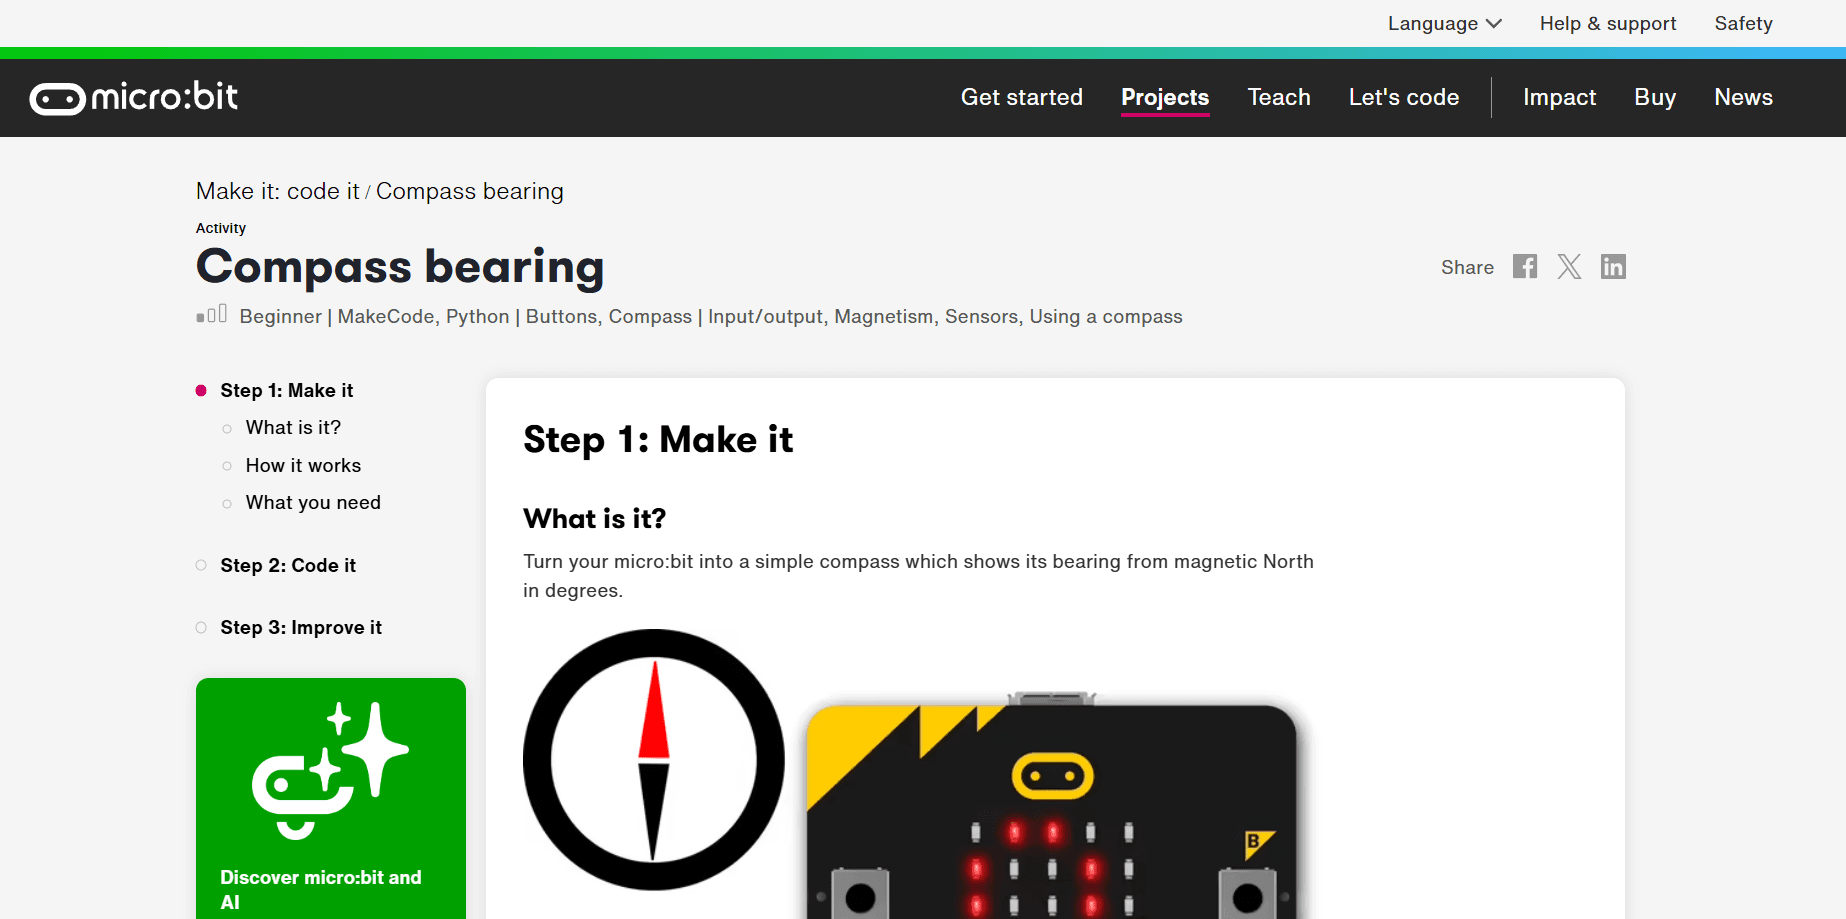
Students learn to determine the direction of the compass using a digital compass. The micro:bit is used for this purpose. A detailed explanation of how to use the micro_bit as a compass can be found in this resource:
https://microbit.org/projects/make-it-code-it/compass-bearing/
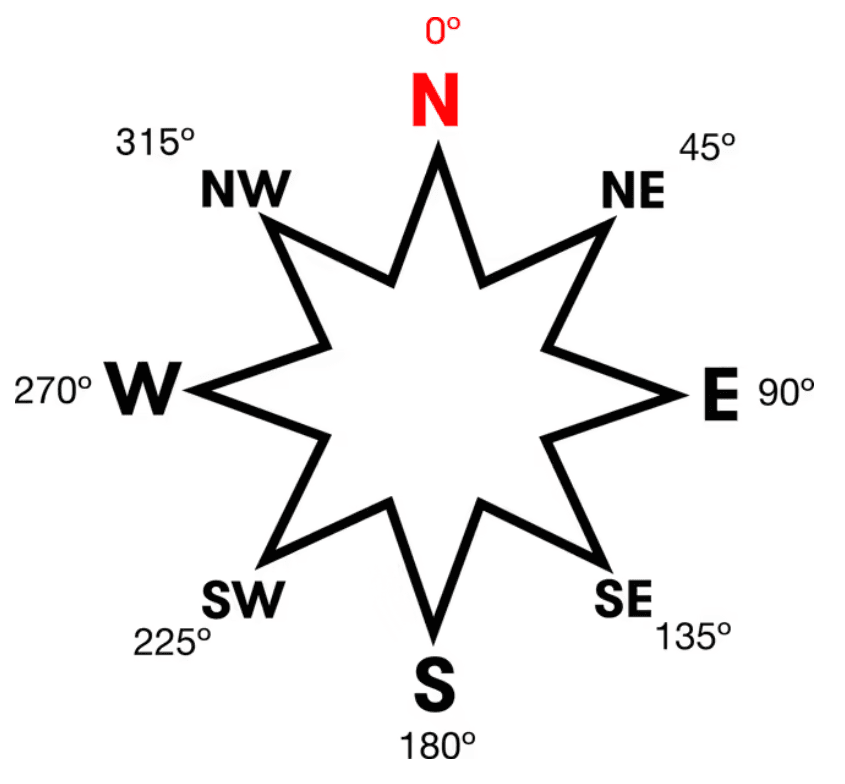
The micro:bit has a built-in compass sensor called a magnetometer. You can use it to measure the Earth’s magnetic field and use it as a compass.
When you press the button A input, the micro:bit takes a reading from the compass sensor and shows the device’s numerical compass bearing on the LED display output. Point the micro:bit North and you should see a reading of 0 degrees.
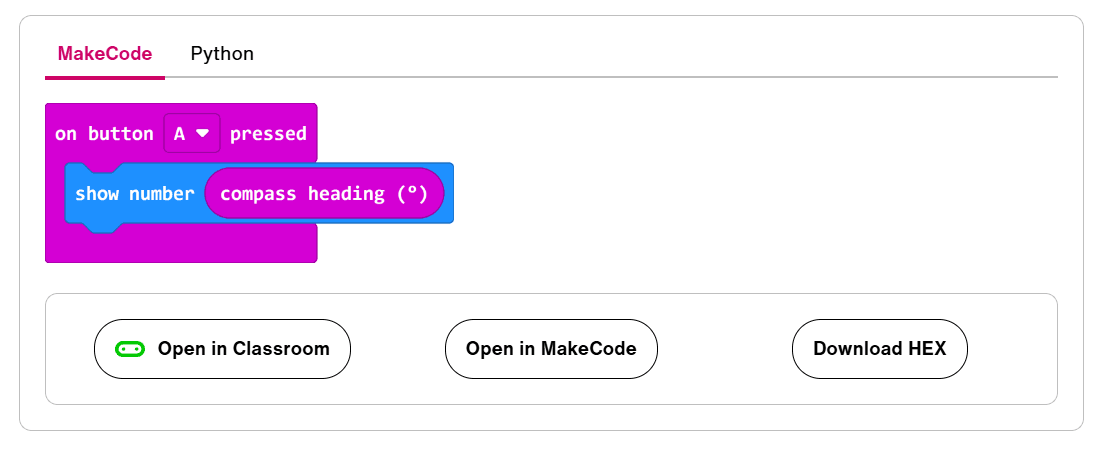
Only a single line of block code is required to put the compass into operation:
There are many websites that delve deeper into the topic of the mirco:bit. Here we would like to briefly draw your attention to another very valuable resource:
https://makecode.microbit.org/
And then you can start with the actual exercise for the pupils. It is advisable to first discuss the exercise in the classroom with paper and pencil.
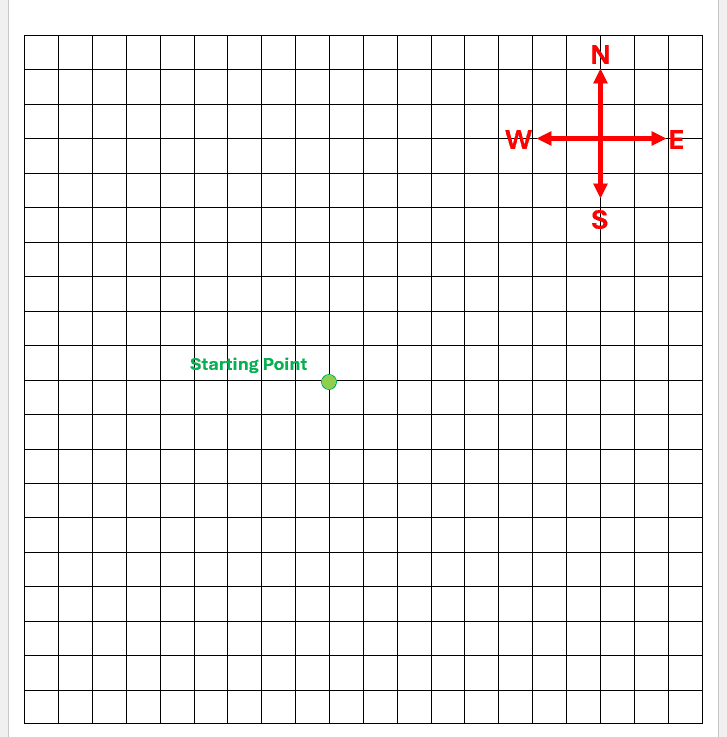
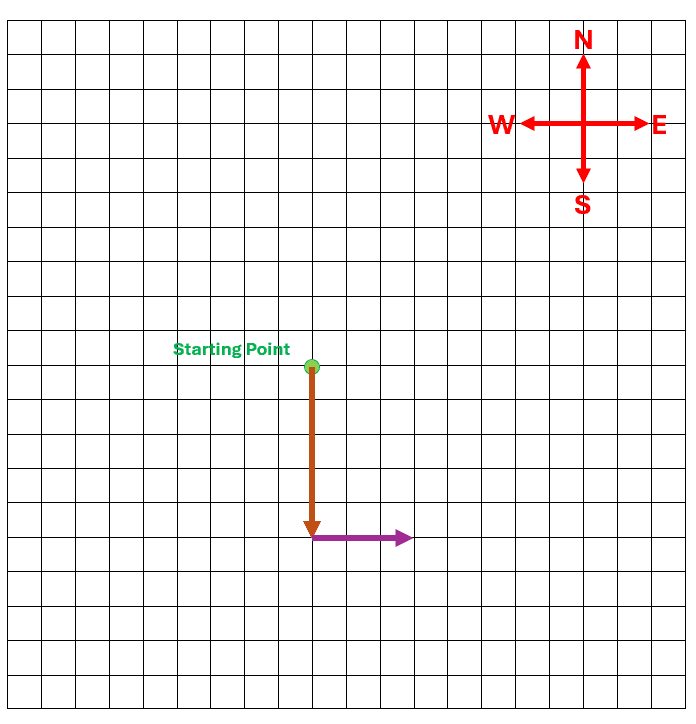
The following template with a simple grid and the cardinal points is sufficient for a simple introduction to the topic:
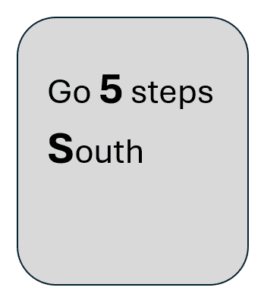
You also need to prepare simple instruction cards that indicate how many steps you should take in a certain direction. In this scale, a ‘step’ is exactly as long as the edge length of a little square. For example, a simple instruction card could look like this:
With this instruction card, for example, you would arrive at this point (starting from the starting point):

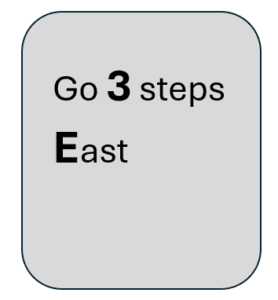
Now pick up the next instruction card and follow the instructions on the card, starting from the current location. Let’s assume that the next instruction card specifies the following rule:
With this additional instruction card, you would therefore end up here:
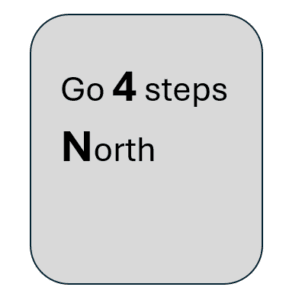
The next instruction card may then look like this:
This instruction brings us here:
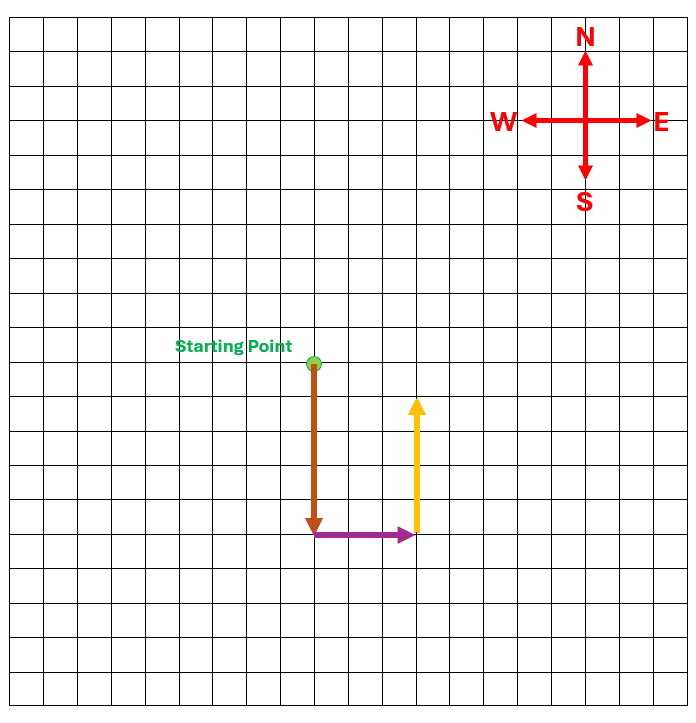
We want to execute three more instruction cards in this way. How many instruction cards you execute is not important for the exercise.
Let’s assume our next three cards look like this:

All these instructions would take you here:
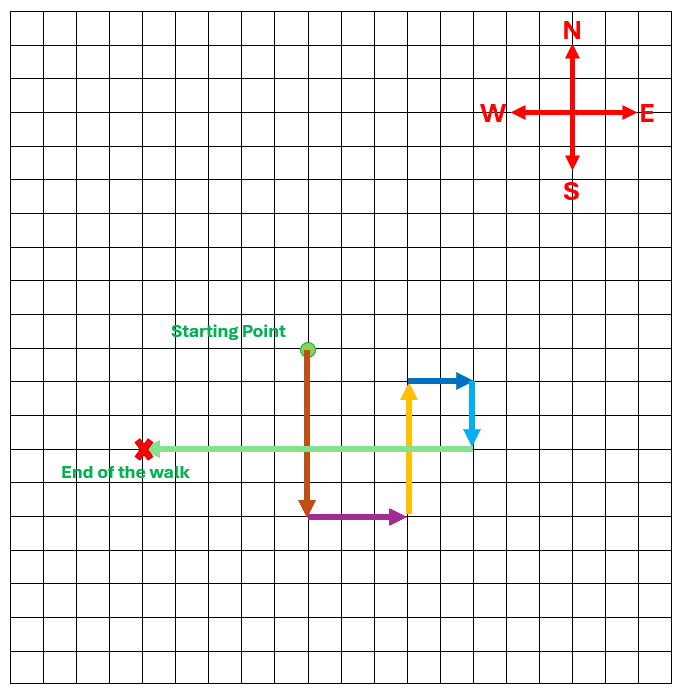
What would happen if you did this walk in a different order using the same instruction cards? For example, you start with the third instruction (4 steps North), then take the fifth instruction (2 steps South) and so on until you have followed all the instructions.
Some students find it surprising that you always arrive at the same point on the hike, regardless of the order of the instructions.
Further tasks for the pupils:
1) How many possible arrangements are there for a total of 6 instruction cards? (Answer: 720 possibilities)
2) How many possible arrangements are there for a total of 4 instruction cards?
3) Write two more instruction cards so that you get back to your starting point.
Once you have gained some practice and confidence in this task on a sheet of paper with a pencil, you can do this exercise very well outdoors with the help of a compass and actual steps.
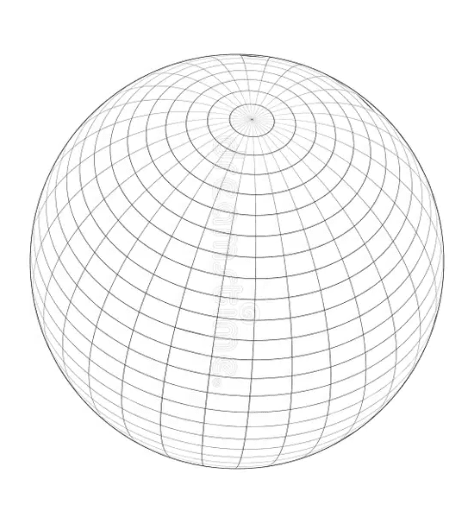
This exercise becomes exciting if you do not carry out this task in a sheet plane, but on a spherical surface. After all, our earth is not flat like a sheet of paper, but rather spherical like a ball.
You can take a large ball and stick the number of steps on it with the help of sticky dots. The compass bearings must also be clearly labelled on the ball.
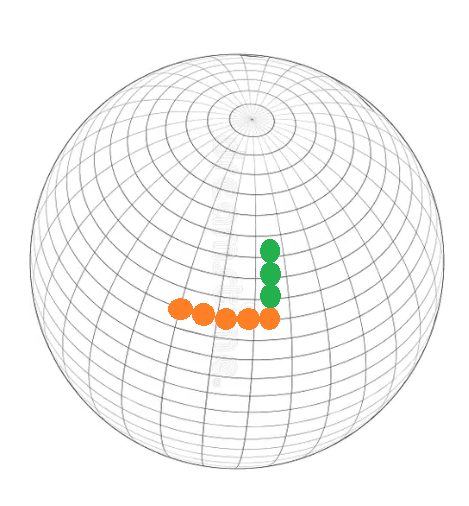
So if we follow the instruction ‘five steps to the east’, it would look like this on the sphere:
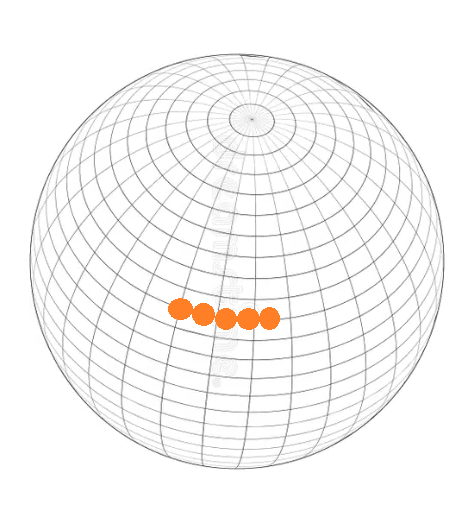
If we then take three more steps northwards, it would look like this:
Is the order in which we carry out the instructions again unimportant – as we have already seen on a sheet of paper?